
If you missed it, go back and read about the concept of NaturePi first. Then come back here and dive into the hardware being used.
Hardware List:
- Raspberry Pi
- Raspberry Pi HQ Camera
- Camera Mount
- USB Microphone Port
- Microphone
- Cooling Systems
- Enclosure
- 12VDC to USB-C Converter
- Battery
- Solar Power Manager
- Solar Panel
- Connectors
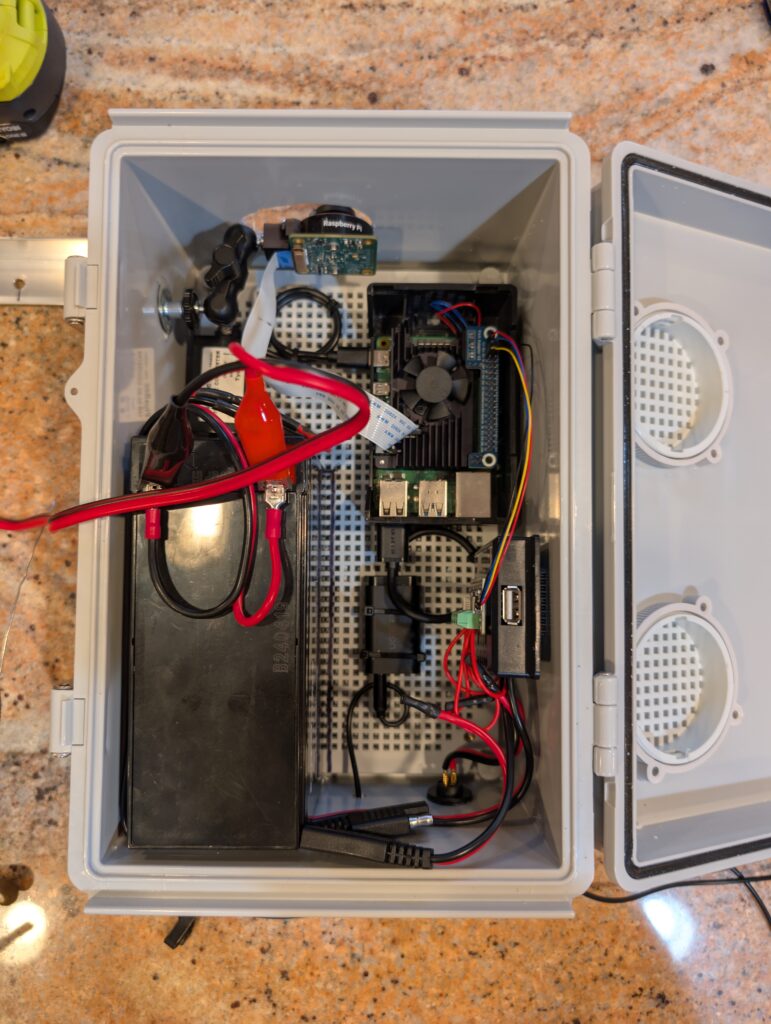
Raspberry Pi
Pick one with enough oomph to do what you want and have some spare power for the inevitable software updates. I’m running this on a RaspberryPi 4b and typically I’m seeing about a 15% CPU usage during the day and slightly higher at night. Seems like a safe bet and doesn’t draw the unreasonable amount of power the RPi5 does. Important since I’m powering this all off a solar system.
I’m just using an SD card for storage. I might run into issues in the future with reliability of the card but it’s easy to start with and doesn’t cost much. I’d like to upgrade to an SSD but first I want to just get running.
I chose to use the bottom of a RPi case to help mount the actual Pi. You can always mount the board directly to your enclosure but do keep in mind that you’ll need to cover the status LED with electrical tape or something to block the light.
Camera
I mean, that’s half of what we’re doing here. I’ve got a Raspberry Pi HQ Camera. You do you and use whatever camera you want.
Lens wise I went with a 180 deg fisheye from arduru. I had to take the IR filter off to get it to focus correctly but I do now have total coverage of the sky. If you don’t have that much sky to cover, I’d adjust which lens you get to match what you can use.
Camera Mount
this one takes a little bit of thinking about. Depending on what enclosure you’re going with, you’ll need to figure out how to actually position the camera.